An LAB mode Blending Exercise
An LAB mode Blending Exercise
I've just finished reading up on the wonders of channel blending in LAB mode
in Dan Margulis's book "Photoshop LAB Color". Thoroughly enlightening. I
thought I'd have a go with this technique on one of my Boston holiday
photos.
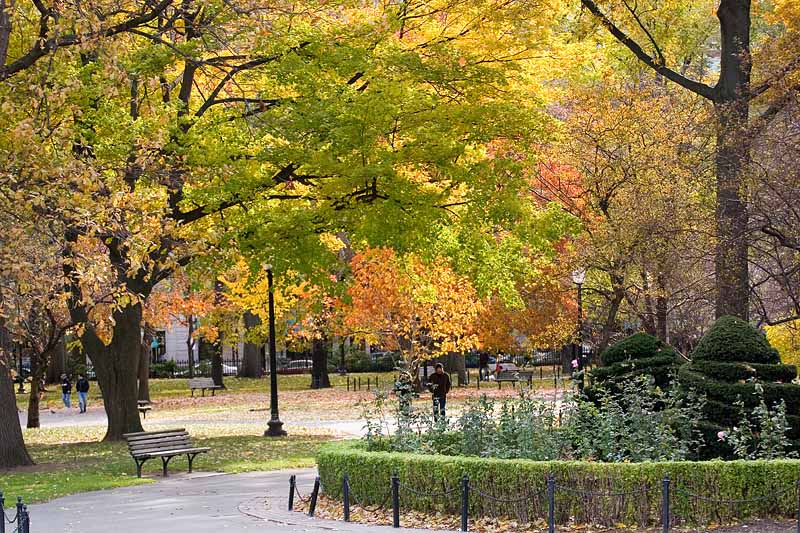
This first image is my original effort. The greens in the central tree look
too yellow, and the magenta tree behind it is so yellow it's all but lost.
The mistake I made was to boost both 'a' and 'b' curves to simply increase
saturation. Boosting the shades of yellow in the green tree also boosts the
shades of yellow in the magenta tree behind it, meaning they tend to merge.
It looks better if I just boost the 'a' curve, but since there's green and
magenta in both trees they still tend to merge together. It reflects what
was there, but isn't too pleasing as a final photo.
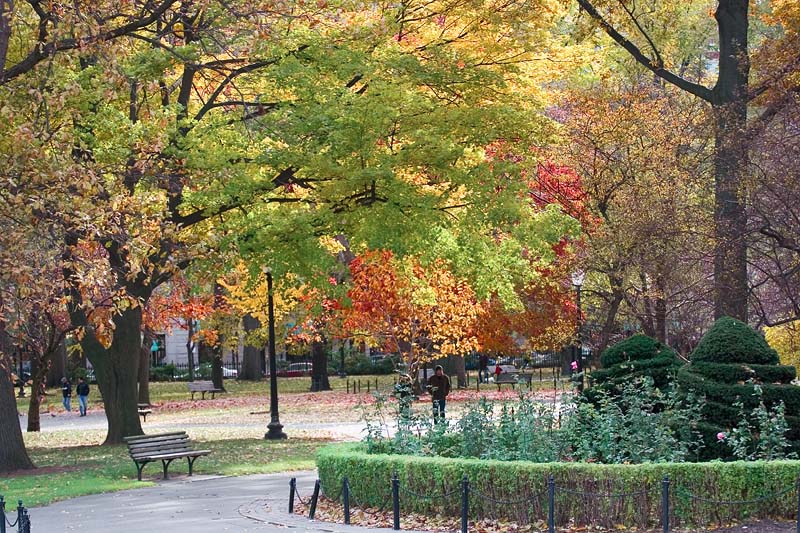
This second image is my first attempt at using the channel blending technique
to separate similar colours from each other. In this case I blended an
inverted copy of the 'a' channel into the 'L' channel at 100% opacity in
overlay mode. The difference is startling. Where the colour is green the
light is increased, making the greens lighter. Where the colour is magenta
the light is reduced making the reds and magentas darker. The effect is to
separate the shades, making the greenish-yellows lighter and the
reddish-yellows darker, but without messing up any of the other shades.
This isn't really the finished result. The image has lost its punch in the
mid-yellow shades, and as a result I think I still prefer the original.
I need to investigate this and learn how to correct it. But the principle
behind the technique is demonstrated rather nicely.